


Printing documents is a common task, but it can become frustrating when you encounter issues with your printer. Whether it’s a paper jam, poor print quality, or connectivity problems, there are simple solutions to many basic printer issues. In this tutorial, we’ll guide you through troubleshooting steps to fix common printer problems and ensure smooth printing without hassle.
Step 1: Check Printer Connections
The first step in troubleshooting printer problems is to ensure that all connections are secure. Follow these steps:
- Make sure the printer is turned on and properly connected to your computer or network.
- Check the USB or Ethernet cable connections between the printer and your computer or router.
- If using a wireless printer, verify that it’s connected to the same Wi-Fi network as your computer.
- Restart both your printer and computer to reset the connection.
Step 2: Clear Paper Jams
Paper jams are a frequent issue that can disrupt printing. Here’s how to clear them:
- Turn off the printer and unplug it from the power source.
- Open the printer’s paper tray and any access doors to locate the jammed paper.
- Gently remove the paper, taking care not to tear it.
- Check for any torn pieces of paper or debris inside the printer and remove them.
- Close the access doors and paper tray securely.
- Plug in the printer and turn it back on.
- Print a test page to ensure the issue is resolved.
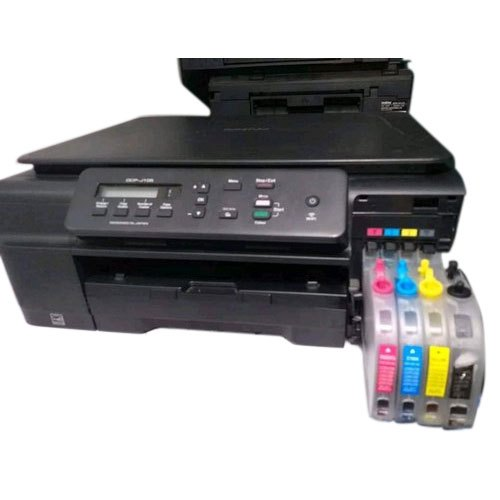
Step 3: Check Ink or Toner Levels
Low ink or toner levels can result in poor print quality or faded prints. Here’s how to check and replace ink or toner cartridges:
- Open the printer’s ink or toner cartridge access door.
- Check the ink or toner levels using the printer’s control panel or software interface.
- If the levels are low, replace the cartridges with new ones compatible with your printer model.
- Follow the manufacturer’s instructions for replacing cartridges carefully.
- Once replaced, print a test page to ensure the print quality has improved.
Step 4: Adjust Print Settings
Sometimes, print quality issues can be resolved by adjusting the printer’s settings. Here’s what to do:
- Open the document or image you want to print on your computer.
- Go to the print settings or preferences menu.
- Adjust settings such as paper type, quality, and color options to optimize print quality.
- Preview the document before printing to ensure it appears as expected.
- Print the document and check if the issue persists.
Step 5: Update Printer Drivers
Outdated or corrupted printer drivers can cause various printing problems. Follow these steps to update your printer drivers:
- Go to the manufacturer’s website for your printer model.
- Navigate to the “Support” or “Downloads” section.
- Find the latest printer drivers compatible with your operating system.
- Download and install the drivers according to the manufacturer’s instructions.
- Restart your computer after installing the drivers.
- Test print a document to confirm that the issue has been resolved.
Step 6: Perform Printer Maintenance
Regular maintenance can prevent many common printer problems. Here’s what you can do:
- Clean the printer’s exterior and interior parts, including the paper trays and rollers, using a soft cloth.
- Use a printer maintenance kit or cleaning sheets to remove dust and debris from the printer’s mechanisms.
- Follow the manufacturer’s guidelines for cleaning and maintenance to ensure optimal printer performance.
Conclusion:
By following these troubleshooting steps, you can fix basic printer problems and ensure smooth printing without hassle. Remember to check connections, clear paper jams, monitor ink or toner levels, adjust print settings, update printer drivers, and perform regular maintenance to keep your printer in good working condition. If you encounter persistent issues, consult the printer’s user manual or contact the manufacturer’s support for further assistance.